Here's the secret that makes new filmmakers feel cheated: the reason your footage looks "cheap" is almost never your camera. It's your lighting. You can shoot a gorgeous image on a phone and an ugly one on a $6,000 cinema camera — the difference is whether the light is shaped. And the first tool every filmmaker should master for shaping it is three point lighting.
It sounds technical. It isn't. It's three lights doing three jobs, and once you see it, you'll spot it in nearly every interview, movie, and polished YouTube video you watch.
The short answer: Three point lighting uses three sources — a key light (your main light, off to one side), a fill light (softer, opposite the key, to lift the shadows), and a back light (behind the subject, to separate them from the background). Together they give a face shape, depth, and that "pro" look. You can build all three with cheap gear or even a window.
What three point lighting actually is
Three point lighting is exactly what it sounds like: three lights, each placed for a specific purpose. Flat, single-source light makes a subject look pasted onto the background — lifeless. Three-point light sculpts the face with light and shadow and lifts the subject off the background, which is what your eye reads as "cinematic." It's the foundation of interviews, narrative, and product work alike.
The three lights, one at a time
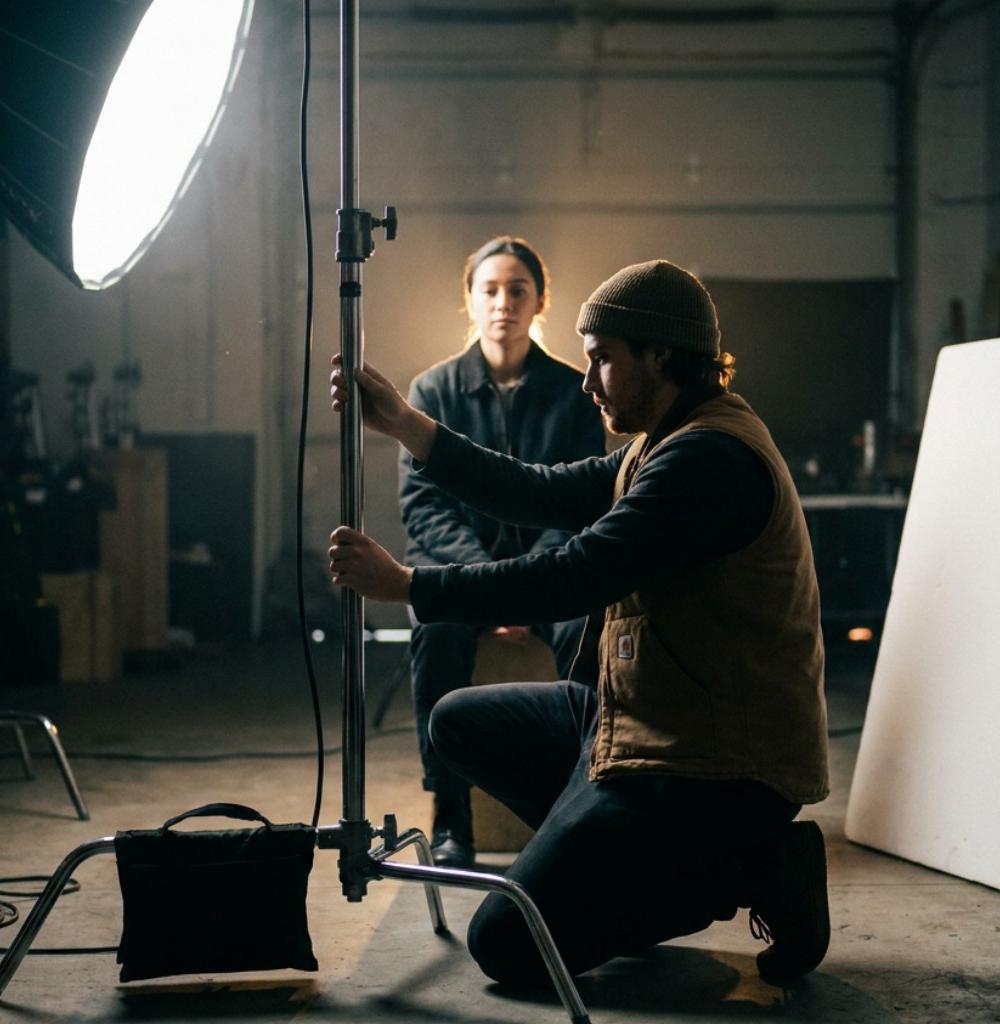
- Key light — the star. Your brightest, main source, placed off to one side of the camera and usually a bit above eye level. It creates the primary shape and shadows on the face. This one light does most of the work; everything else supports it.
- Fill light — the softener. A softer, dimmer light on the opposite side of the key. Its only job is to lift the shadows the key created so they don't go pitch black. More fill = flatter, friendlier (commercial); less fill = moodier, more dramatic. The key-to-fill ratio is where you control the mood.
- Back light — the separator. Placed behind the subject, pointing at their head and shoulders, it puts a rim of light on their edges and pops them off the background. It's the light most beginners skip — and the one that instantly makes footage look professional.
How to set it up, step by step
- Turn everything else off. Start in darkness so you can see what each light does.
- Place the key first. One side of the camera, above eye level, angled down at ~45 degrees. Get the face looking good with this single light before touching anything else.
- Add the fill. Opposite side, softer and dimmer than the key. Bring the shadows up to taste — not to zero.
- Add the back light. Behind and above the subject, aimed at the back of the head and shoulders. Nudge it until you see a clean rim of separation.
- Balance the ratio. Adjust brightness until the mood matches the scene — brighter fill for warm/commercial, darker for dramatic.
Master one light before you add three. If your key light alone doesn't look good, no amount of fill and rim will save it.
How to do three point lighting on almost no budget
You do not need a $2,000 lighting kit. Cheap, effective versions of each light:
- Key: a large window with soft daylight, or a single affordable LED panel or softbox.
- Fill: a $10 white foam board or a bedsheet bouncing the key's light back onto the shadow side — no second light needed.
- Back light: a cheap LED, a clip lamp, or even a small practical placed behind the subject.
A window, a bounce board, and one small light will out-shoot most expensive setups used carelessly. Shaping beats spending.
When to break the rules
Three point is a foundation, not a law. Once you understand it, you'll often use less — many beautiful shots are lit with a single motivated source (a window, a lamp) and a bounce. The point of learning the three lights is to understand what each one does, so you can choose which to keep. Break the rule on purpose, not by accident.
Common three-point lighting mistakes
- Skipping the back light. The number-one reason footage looks flat and amateur.
- Fill as bright as the key. Kills all shape and mood — you get flat, "video" lighting.
- Hard, unshaped light. Bare bulbs create harsh shadows. Soften the key (diffusion, or bounce it) for flattering results.
- Lighting the subject but not the background. A black void behind them looks cheap; give the background a little light or interest.
- Adding all three at once. You can't see what's wrong. Build one light at a time.
Frequently Asked Questions
What are the three lights in three point lighting?
The key light (main source, to one side), the fill light (softer, opposite side, to lift shadows), and the back light (behind the subject, to separate them from the background).
Do I need three separate lights?
Not necessarily. You can create the fill with a simple bounce board instead of a second light, and use a window as your key. The concept matters more than owning three fixtures.
Which light is most important?
The key light — it does most of the work and sets the look. If you only have one light, make it a well-placed, softened key and add a bounce for fill.
How do I make it look dramatic vs. friendly?
Adjust the key-to-fill ratio. Lots of fill lifts the shadows for a bright, friendly, commercial look; little or no fill deepens the shadows for a moody, dramatic one.
Light it right, and everything looks better
< p> Three-point lighting is the single highest-leverage skill in indie filmmaking — more than any camera upgrade. Learn what the key, fill, and back light each do, build them one at a time, and even a phone starts producing images that look intentional and professional. Shape the light, and the "cheap" look disappears.Great lighting is one piece of a film that gets finished and seen — the rest is a plan. FilmmakerGenius runs the whole production pipeline, from script to shot list to shoot day, in one place, free to start — so your beautifully lit footage becomes a finished film.