For most of the history of this business, breaking into voice acting had a physical gate you literally had to drive to. You booked studio time or begged your way in, you stood in someone else's booth on someone else's schedule, and you handed your fate to a gatekeeper who'd decide whether your demo was worth their client's time. The equipment cost thousands, the room cost a fortune, and access was rationed by people whose job was to say no. That entire world is gone. It's been replaced — completely — by the exact thing you already do every single day as a self-taping actor: recording a performance, alone, from home. Your self-tape corner is a voice-over booth. You just haven't been using it as one. Here's the entire setup, start to finish, for under $150.
The Only Real Purchase: The Microphone
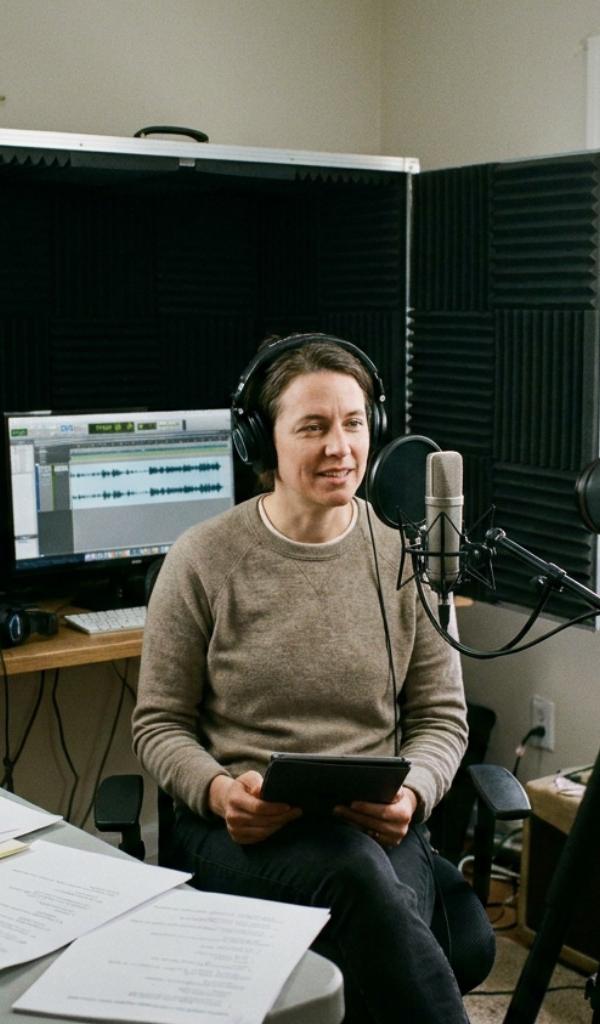
Let's start with the only real purchase, because there's exactly one, and it's cheap: the microphone. You do not need a $1,000 studio mic and an interface to start booking work. A quality USB microphone plugs straight into your computer and delivers genuinely professional audio for well under $150. The workhorses are the Audio-Technica AT2020 USB, the Rode NT-USB, and the Blue Yeti — with one critical setting on the Yeti: switch it to cardioid (the heart-shaped pickup pattern that captures what's in front of it and rejects the room), not omni, which grabs sound from everywhere and ruins you. Any of these three will get you clean, hireable audio today. Yes, an XLR mic and an audio interface is a real upgrade you'll want eventually — but "eventually" is not "before you start." You start USB, and you start now. The mic is not what makes you bookable, and spending more on it is the classic beginner trap for avoiding the actual work.
Add a Pop Filter — a Few Dollars, or Free
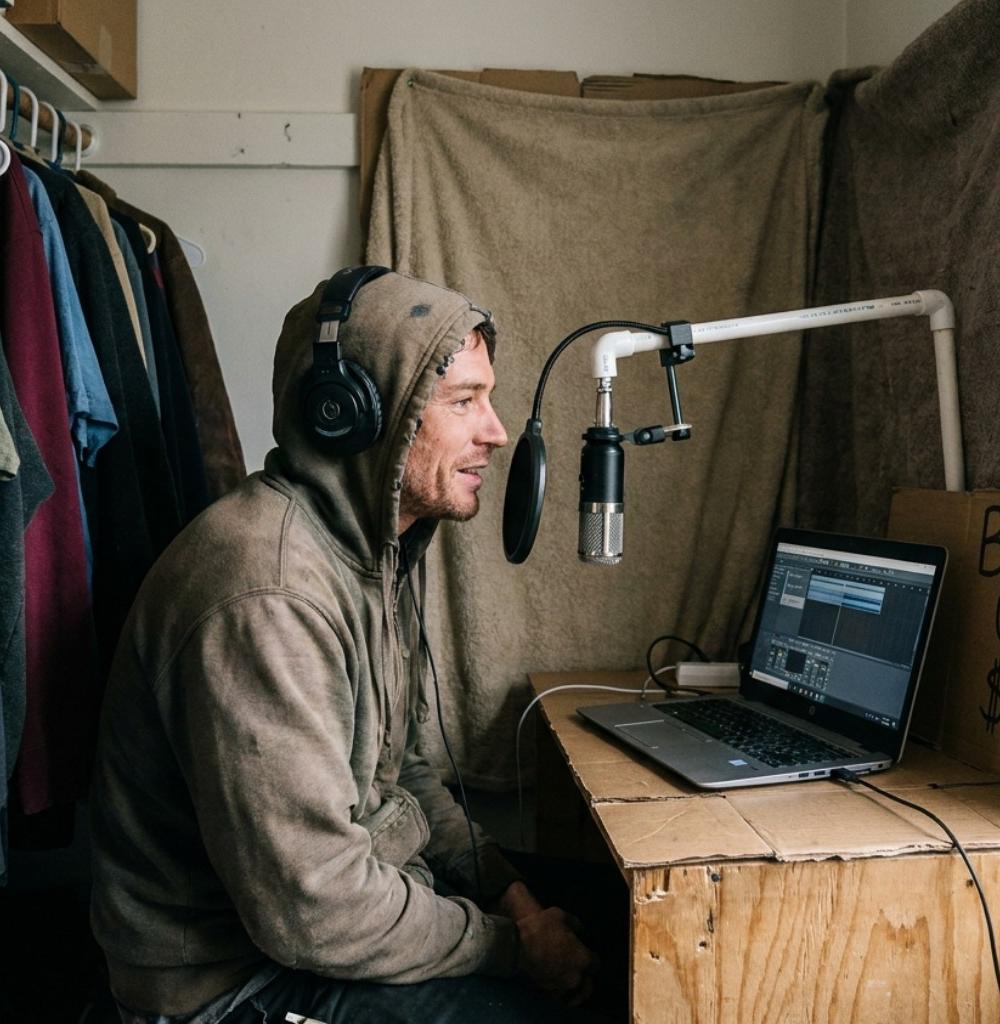
To the mic, add one small accessory that punches far above its price: a pop filter. This is the little screen you position between your mouth and the mic, and it kills the plosive bursts — the harsh pop of air on "P" and "B" sounds that thump the capsule and mark a recording as amateur. A real one is a few dollars. The DIY version, which genuinely works, is a nylon stocking stretched over a bent wire hanger. Either way, use one. Plosives are an instant, avoidable tell, and this is the cheapest fix in all of audio.
The Software Is Free and Professional-Grade
Next, the software — and here's the best news of all: it's free and it's professional-grade. Audacity runs on any computer, Mac or PC; GarageBand comes free on every Mac. Professionals ship paid work out of both. What matters isn't the program — it's the small set of skills you'll learn inside it: trimming silence off the front and back of a take (called "top-and-tailing"), removing mouth clicks and stray breaths, normalizing your levels so your audio sits at the right volume, and exporting a clean file to whatever spec the job requires. None of that is hard. All of it is learnable in an afternoon of YouTube tutorials, and once you have it, you can produce a finished, delivery-ready file without paying anyone. That editing skill is also, quietly, half of what makes you employable — a lot of voice work is judged as much on how clean your files are as on the performance itself.
The Space Matters More Than the Mic
Now the part that costs nothing but effort — and matters more than the mic: the space. This is the counterintuitive truth that separates people who sound professional from people who sound like they recorded in a bathroom: acoustics beat gear, every time. The enemy is not a cheap microphone. The enemy is echo — sound bouncing off hard, flat walls and returning to the mic as that hollow "recorded-in-a-room" ring that casting can hear in a heartbeat. And you kill echo with soft, irregular surfaces, not with money. A closet packed with hanging clothes is one of the best free booths in existence — fabric absorbing reflections from every direction in a small, dead space. A corner draped in heavy blankets, duvets hung around you, moving blankets on a frame, or a literal blanket fort will out-perform an expensive, beautifully furnished "nice" room every single time, because the nice room is full of hard surfaces and the blanket fort isn't. A treated closet with a $90 mic beats an untreated living room with a $900 mic. That's not an exaggeration; it's the whole ballgame.
The Actual Total
So let's total the actual damage. USB mic: roughly $100–$150. Pop filter: a few dollars, or free if you raid the sock drawer. Software: free. The space: free, built from clothes and blankets you already own. That's the entire technical barrier to entry for voice acting in 2026 — and notice, pointedly, what is not on this list. No studio. No fortune. No interface, no acoustic foam, no expensive treatment, and above all, no one's permission. There is no gatekeeper in this setup. There is nobody to convince, nothing to book, no one deciding whether you're allowed in. It's just you, a cheap mic, free software, and a soft, quiet corner.
You've Already Cleared Most of This
And here's the thing you have to really absorb: you've already cleared most of this. You built a self-tape rig. You already treated a space for sound and light, you already learned to record and export yourself, you already perform full-out with nobody in the room. The overlap between a self-tape setup and a voice-over booth is almost total. You are not starting from zero — you're maybe one closet and a hundred bucks away from ready. The only thing actually standing between you and your first voice-over recording isn't equipment, or money, or access, or talent. It's a decision. Plug in the mic. That's the entire barrier now.
Your self-tape corner and your voice booth are the same corner — treat it once, use it for both. HowToSelfTape is free to start and walks you through the space, mic, and editing habits that make a room sound professional on camera and on mic.