Watch two self-tapes back to back — one lit by a single overhead bulb, one lit properly — and you won't need anyone to tell you which actor booked the callback. It isn't the acting that changes; it's whether casting can actually see it. A self tape lighting setup built on the classic three-point method is the difference between a face that reads with dimension and life, and one that goes flat and pasted-on against the background.
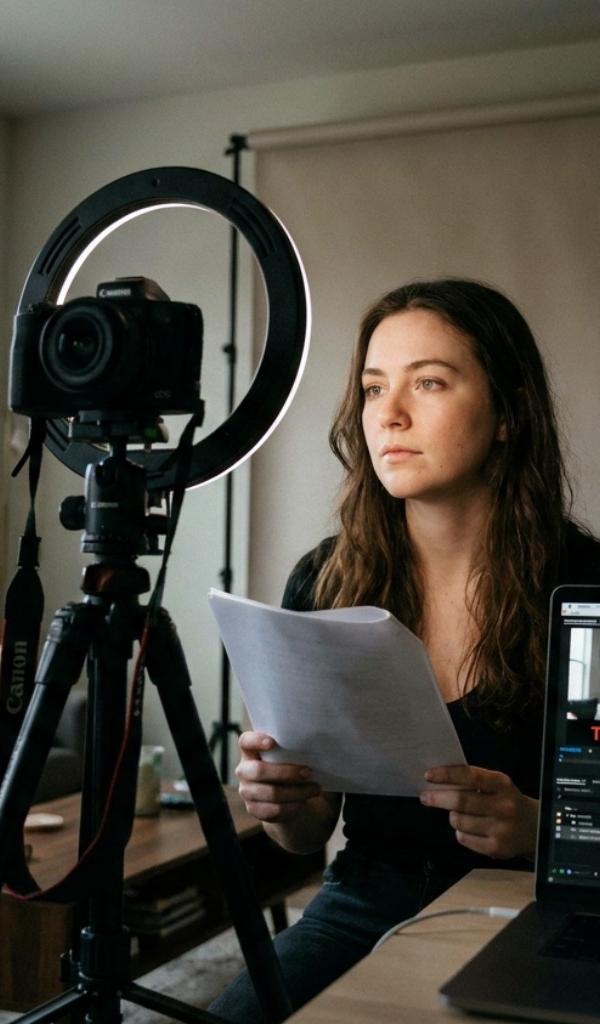
A self tape lighting setup uses three lights with three separate jobs: a key light to shape your face, a dimmer fill light to soften the shadows the key creates, and a back light behind you to separate you from the backdrop. You don't need a film crew to build this — a couple of cheap LED panels, a bounce board, and some careful placement gets you there.
The Three Points, Explained Simply
Three-point lighting is the foundation under nearly every professional close-up you've ever seen, and each light in it has exactly one job.
- Key light — your main, brightest source. It shapes your face and sets the overall look of the shot.
- Fill light — a softer, dimmer source on the opposite side that lifts the shadows the key creates, so your face isn't half-buried in darkness.
- Back light — placed behind and above you, aimed at your head and shoulders, separating you from the backdrop and adding depth.
Get all three working together and your face gains real dimension instead of looking flat against the wall behind you.
Placing the Key Light
Set your key light off to one side, roughly thirty to forty-five degrees from center, and just above eye level angled gently downward. That angle creates a subtle, natural shadow that actually gives your face shape — placing a key dead center flattens everything into a mugshot, and placing it too low creates an unnatural, uplit look. A twenty-five dollar LED panel like a Neewer ring light or small softbox works fine here. The one non-negotiable job of your key light is putting a small catchlight in your eyes — that tiny spark is what makes a close-up feel alive instead of glassy.
Balancing the Fill Without Losing Contrast
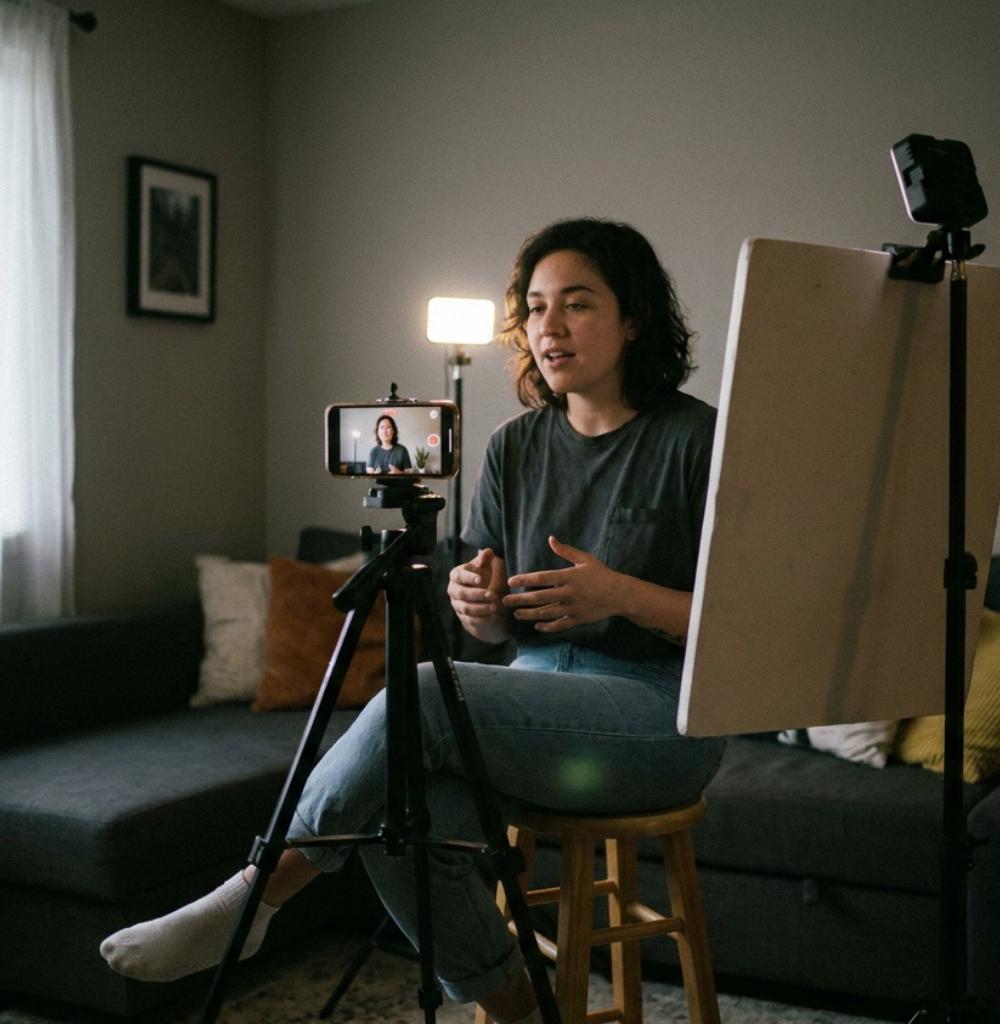
The fill light's job is to soften the shadow side without erasing it entirely. Keep it noticeably dimmer than the key — that gap between the two brightness levels is what gives your face natural contrast and shape. Push the fill up to match the key and the whole image flattens out again, undoing the work your key light just did. If you don't own a second light, a plain white foam board or poster board angled on your shadow side works as a bounce, reflecting your key light back to fill the shadows for free.
Adding a Back Light for Depth
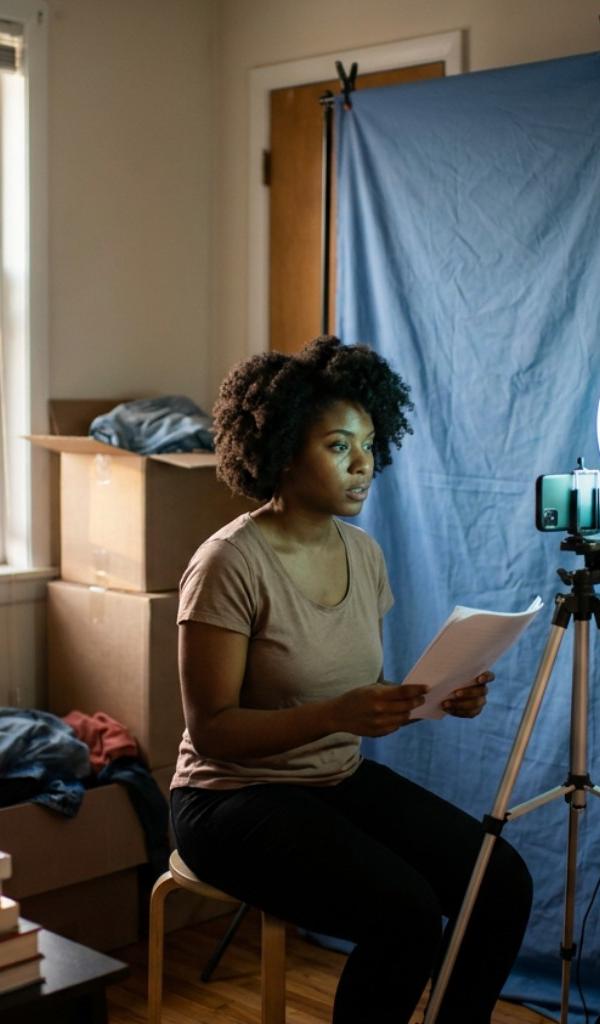
The back light, sometimes called a hair or rim light, is the touch most home setups skip entirely — and it's the one that most instantly signals a tape was lit on purpose. Placed behind you, out of frame, aimed down at your head and shoulders, it traces a subtle edge of light that lifts you off the backdrop instead of letting you blend into it. Keep it modest; you're going for a gentle rim, not a glowing halo effect. If you're short on stands, even a small clamp lamp aimed carefully from behind a bookshelf can do the job.
Common Mistakes That Undercut a Good Setup
The lighting mistakes that show up over and over are rarely about missing equipment — they're about placement. Actors aim a single light straight at their face from eye level, which flattens everything and kills the catchlight. They mix a warm household lamp with a cool daylight LED and end up with skin tones that look sickly and impossible to color-correct. They skip the back light entirely and end up visually merged with their backdrop. None of these need new gear to fix, just a few minutes of repositioning before you hit record.
Light doesn't just show your face to casting — it tells them how to feel about what they're seeing.
Softening Every Source
Hard, direct light is unflattering on camera; it exaggerates skin texture and throws sharp-edged shadows that read as harsh under any compression. Soften and diffuse every light in your setup:
- Shoot through a diffusion sheet, a shower curtain, or thin white fabric stretched over the light.
- Bounce your lights off a white wall or ceiling rather than aiming them straight at your face.
- Use daylight-balanced bulbs throughout so your skin tone stays natural and consistent shot to shot.
If you're relying on a window instead of purchased lights on a given day, our guide to natural light self tapes covers how to get the same three-point result for free using daylight and a bounce board.
Making the Setup Repeatable
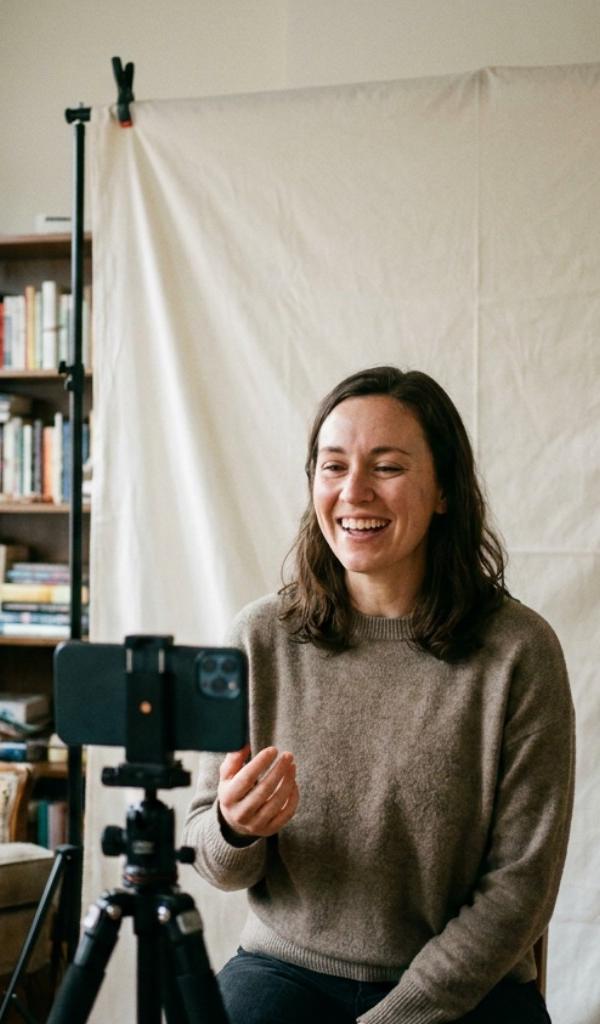
Once your self tape lighting setup looks right, write it down: the height and angle of each light, their distance from your marks, and which bulbs or panels you used. Rebuilding it should take five minutes before an audition, not a frustrating hour of guesswork on a deadline. Combine it with correct framing — see our self tape framing guide — and a clean backdrop from our backdrop guide, and lighting stops being a variable you worry about.
How many lights do I actually need to start?
One is enough to begin — a single key light plus a white foam board as a bounce covers the key and fill roles. Add a second light for the back light once you're taping regularly enough to justify the extra twenty to thirty dollars.
What's a cheap light that actually works for self tapes?
Small LED panels from brands like Neewer or Elgato, typically twenty to sixty dollars, are more than enough for a self-tape setup. You don't need broadcast-grade gear — you need consistent, daylight-balanced, diffused light.
Why does my face still look flat even with two lights on?
Usually the fill is too close in brightness to the key, or both lights are hitting you from nearly the same angle. Dim the fill, widen the angle between the two, and check for a visible catchlight in your eyes.
Can I use lamps I already own instead of buying LED panels?
Yes, as long as they're the same color temperature and you diffuse them with a lampshade, fabric, or by bouncing off a wall. Mixing bulb types is the more common problem than the light source itself.
A dialed-in self tape lighting setup means casting spends their attention on your performance instead of squinting at your face. Once you've got it mapped out, a free tool like HowToSelfTape can help you rehearse and record against it consistently — it's free to start, no lighting kit required to try it.