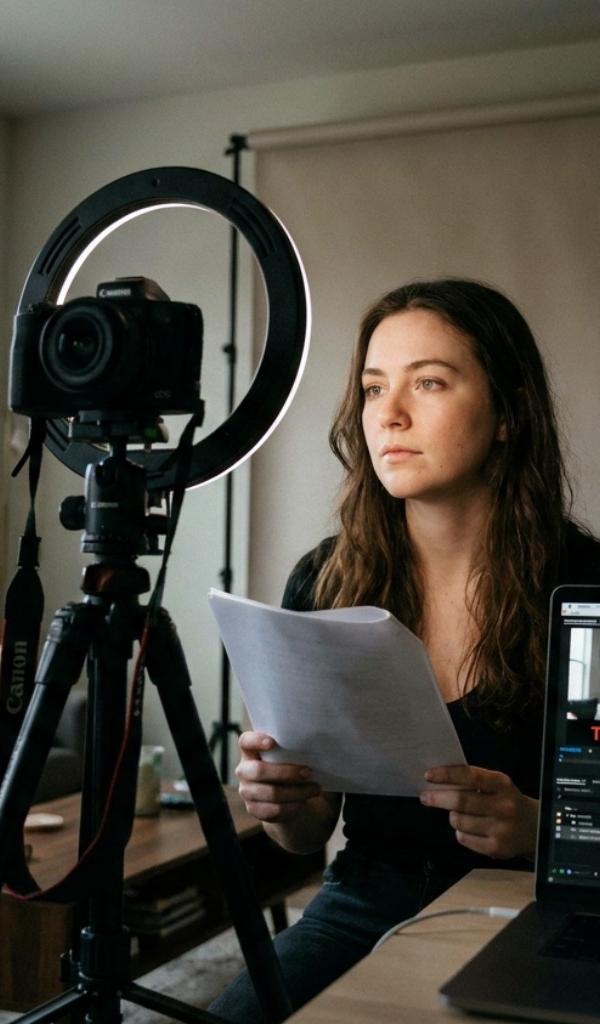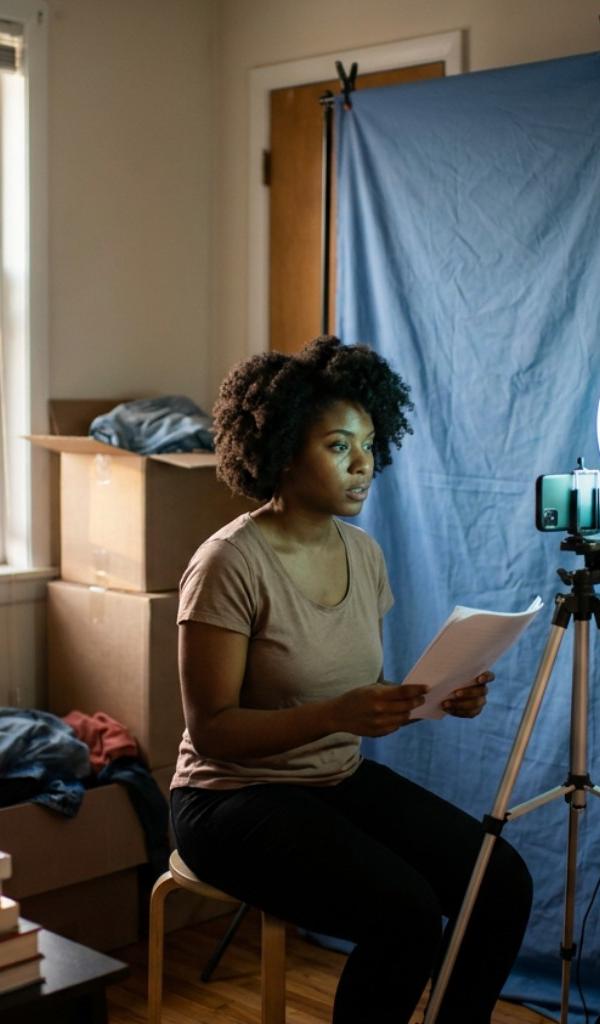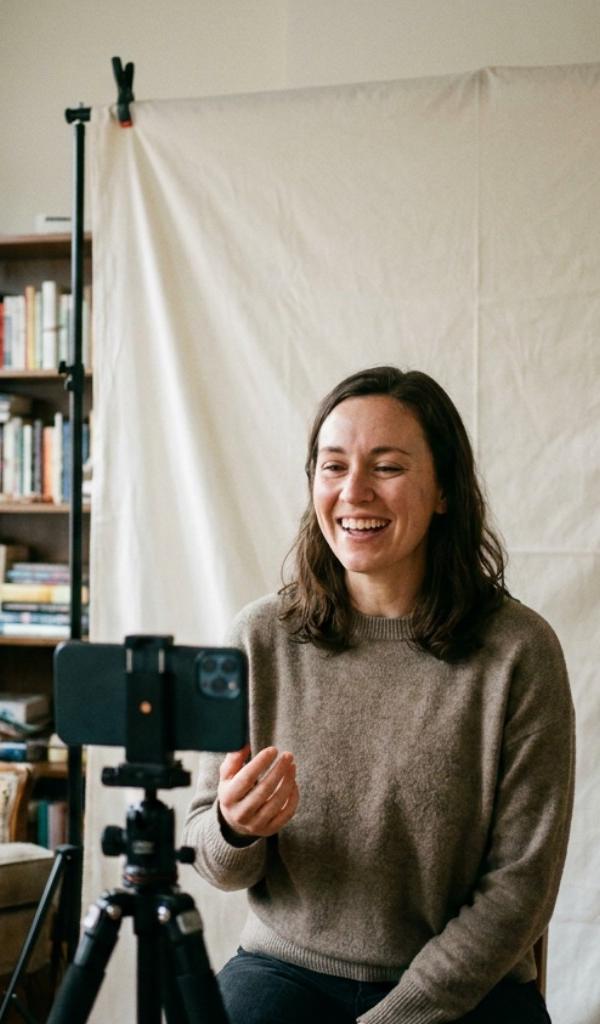
A casting associate has forty self-tapes open in forty browser tabs before lunch. She is not watching for craft yet — she is watching for a reason to click away. If your head is jammed against the top of the frame, if the lens is looking up your nostrils from a phone propped on a stack of paperbacks, or if your reader's shoulder is blocking half your face, she has her reason before you say a word. Self tape framing is not a technical afterthought. It is the first line of the audition, and it gets read before the performance does.
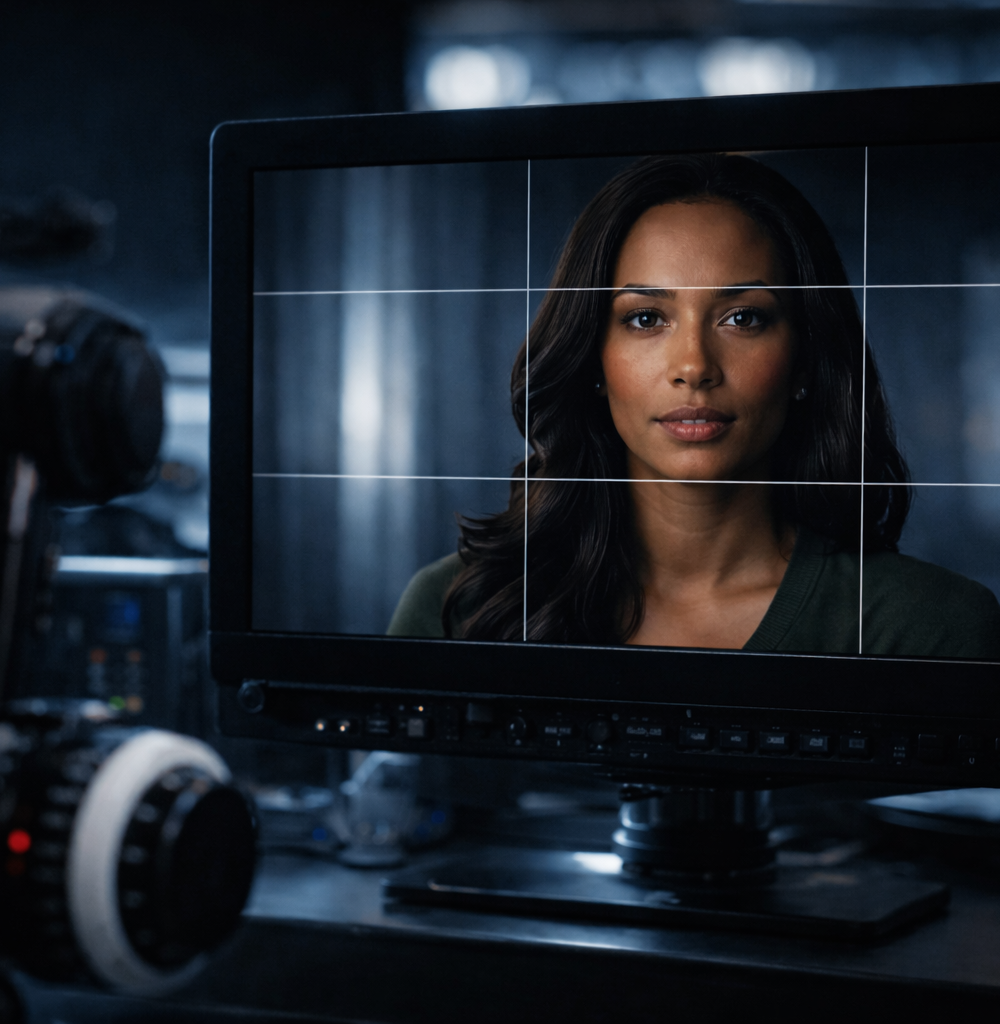
Self tape framing means shooting a medium close-up — mid-chest to just above the head — with your eyes sitting on the upper third of the frame, the camera locked at your eye level, and your reader positioned close beside the lens. Get those four things right and consistent, and casting stops noticing the setup entirely. Their attention goes straight to your face and the scene.
What Shot Size Actually Reads Best
For nearly every dramatic or comedic scene, the standard is the medium close-up: framed from around mid-chest up to a little breathing room above your head. That size is a deliberate compromise. It's tight enough that your eyes and the smallest shifts in your expression are still readable on a five-inch phone screen, but wide enough to let your hands and shoulders carry some of the performance too.
Going tighter into a true close-up is worth doing only when a breakdown specifically asks for intimacy — a quiet confessional monologue, for instance. Going wider into a full-body shot for a two-person dialogue scene is almost always a mistake; your face shrinks down to a smudge, and casting loses the exact information they're there to evaluate. Whatever size you land on, keep it identical from take to take. A submission where the framing shifts between clips looks like it was thrown together in a rush, even if the performance inside it is excellent.
Headroom and Eyeline: The Two Measurements That Matter
Headroom is the gap between the top of your head and the top of the frame, and most beginners get it backwards. They leave a canyon of empty space above the head "to be safe," which does the opposite — it shrinks your face into the bottom half of the frame and drains the energy out of the shot. Leave a sliver, not a shelf.
Eyeline is the other half of the equation. Your reader should stand as close to the lens as they can physically get, so your eyes stay locked near the camera instead of drifting off to the side. When an actor's eyeline sits too far off-axis, casting effectively watches your profile deliver someone else's scene. Tuck the reader in tight, and your connection reads straight through the lens to whoever's watching on the other end.
Why Lens Height Changes Everything
Lens height is where good self tape framing is quietly won or lost, and it's the detail most home setups get wrong first. The camera needs to sit dead level with your eyes. Too low, and the lens looks up your nose in a way that reads as unflattering, sometimes even aggressive. Too high, and it looks down on you, making you seem small or apologetic before you've spoken a line.
A stack of hardcover books under a phone tripod, or a cheap adjustable stand like a Neewer tripod that runs about twenty dollars, solves this permanently. Build the height once, mark it, and check it with a level every single session — rooms change, tripods shift, and a lens that was perfect last week can drift an inch by the next audition.
Landscape or Vertical: Which Should You Shoot?
Read the casting notice first, always — it overrides every default. Absent instructions, horizontal landscape remains the standard for film and television submissions, matching how casting monitors and reels are built. Some commercial, influencer, or social-first breakdowns now specifically request vertical, so don't assume. Whichever orientation you shoot, lock your phone's rotation before you hit record. A file that flips mid-take because the phone rotated on the tripod is an instant, easily avoidable rejection.
The Framing Mistakes That Get Tapes Skipped
The same handful of errors show up again and again in unwatched tapes: heads cropped at the chin because the frame was set too tight, huge dead space above the head, a lens tilted up from a low table, cords or laundry creeping in at the frame's edge, and orientation that flips halfway through a scene. None of these require expensive gear to fix — they require five minutes of attention before you press record, checking all four corners of the frame the same way a photographer checks a viewfinder.
The frame is the first line of your audition, and casting reads it before you say a word.
Building a Setup You Can Repeat Under Deadline
The real goal isn't nailing framing once — it's making it automatic. Note your tripod height, your distance from the backdrop, and your floor marks somewhere you'll actually find them again, whether that's a phone note or tape on the baseboard. When an audition lands with a same-day deadline, you want to rebuild your entire setup in minutes, not improvise it from scratch while the clock runs. Run through shot size, headroom, eyeline, lens height, and clean edges as a quick mental checklist every time — our full self-tape checklist lays out the whole pre-record routine if you want it in writing. Pairing solid framing with a clean, uncluttered backdrop makes the biggest visible difference of all; see our guide to choosing a self-tape backdrop for specifics.
How far should I stand from the camera for a self tape?
Far enough that a medium close-up frames naturally without a wide-angle lens distortion — typically four to six feet for most phone cameras. Standing too close exaggerates your nose and forehead; standing too far forces you to crop in digitally, which softens image quality.
Do I need a tripod, or can I prop the phone up?
A tripod is worth the twenty dollars. Propped phones drift, wobble when you gesture, and rarely sit at true eye level. A basic clamp tripod locks your framing in place take after take, which matters more than any other single purchase you'll make for self-taping.
Should my reader be visible in the shot?
No. Your reader stands just outside the frame, tucked beside the lens, so their voice is present but their body isn't. The scene belongs to you; the reader's job is to give you a real eyeline and timing, not to share the frame.
What if the casting notice doesn't specify vertical or horizontal?
Default to horizontal landscape. It's still the industry standard for film and TV self-tapes and matches how most casting software displays submissions. Only shoot vertical when the breakdown explicitly asks for it.
Once framing is second nature, the next habit worth building is treating every tape like a formatted submission, not just a recording — see our guide on how to format a self tape for slating and file-naming details, and our broader self-tape audition guide for the full process end to end. If you want a free tool that keeps your framing, lighting, and slate consistent every time you record, HowToSelfTape is free to start and built specifically for actors taping from home.