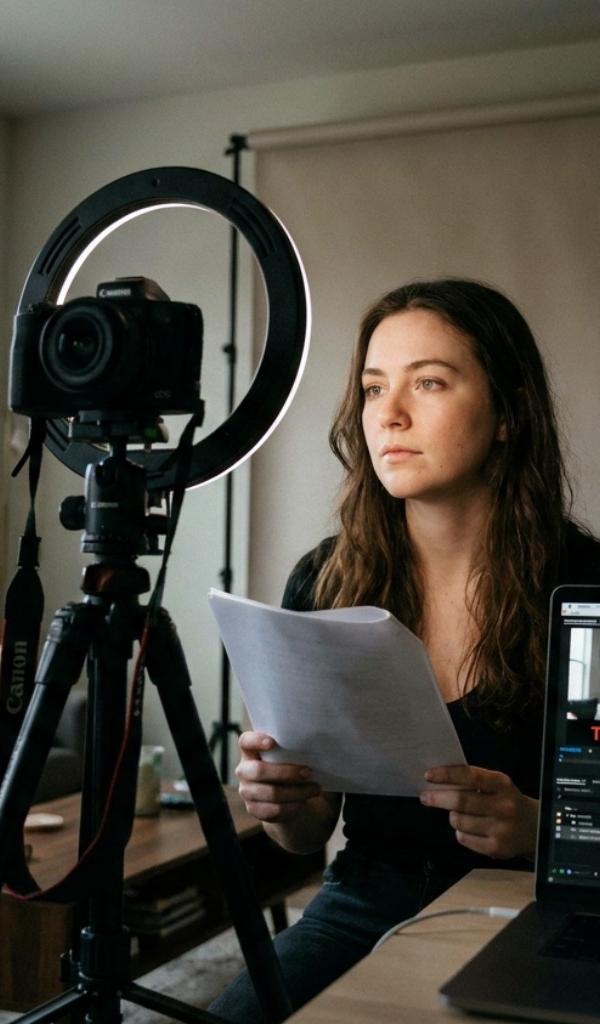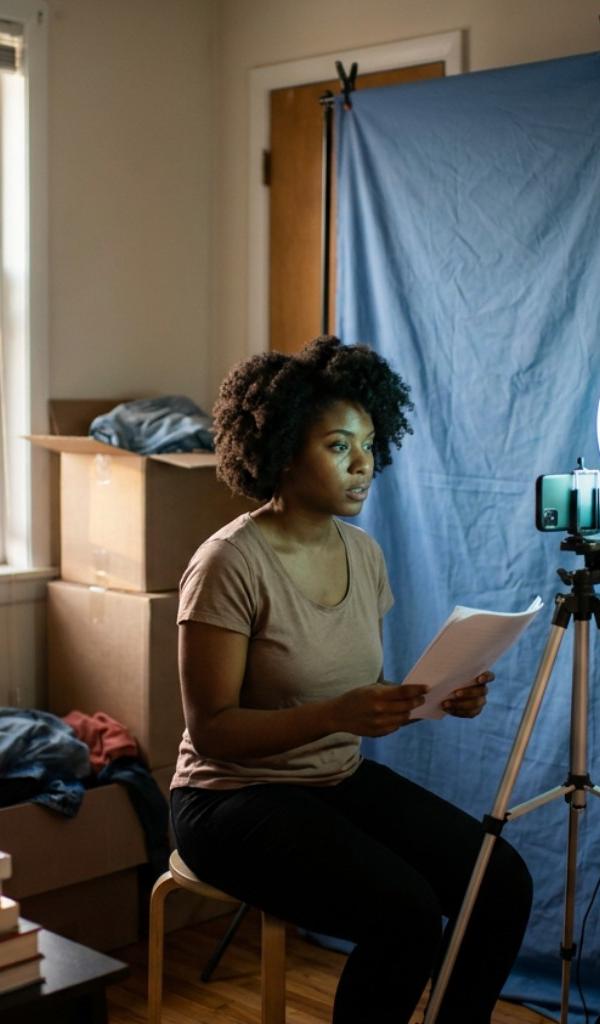
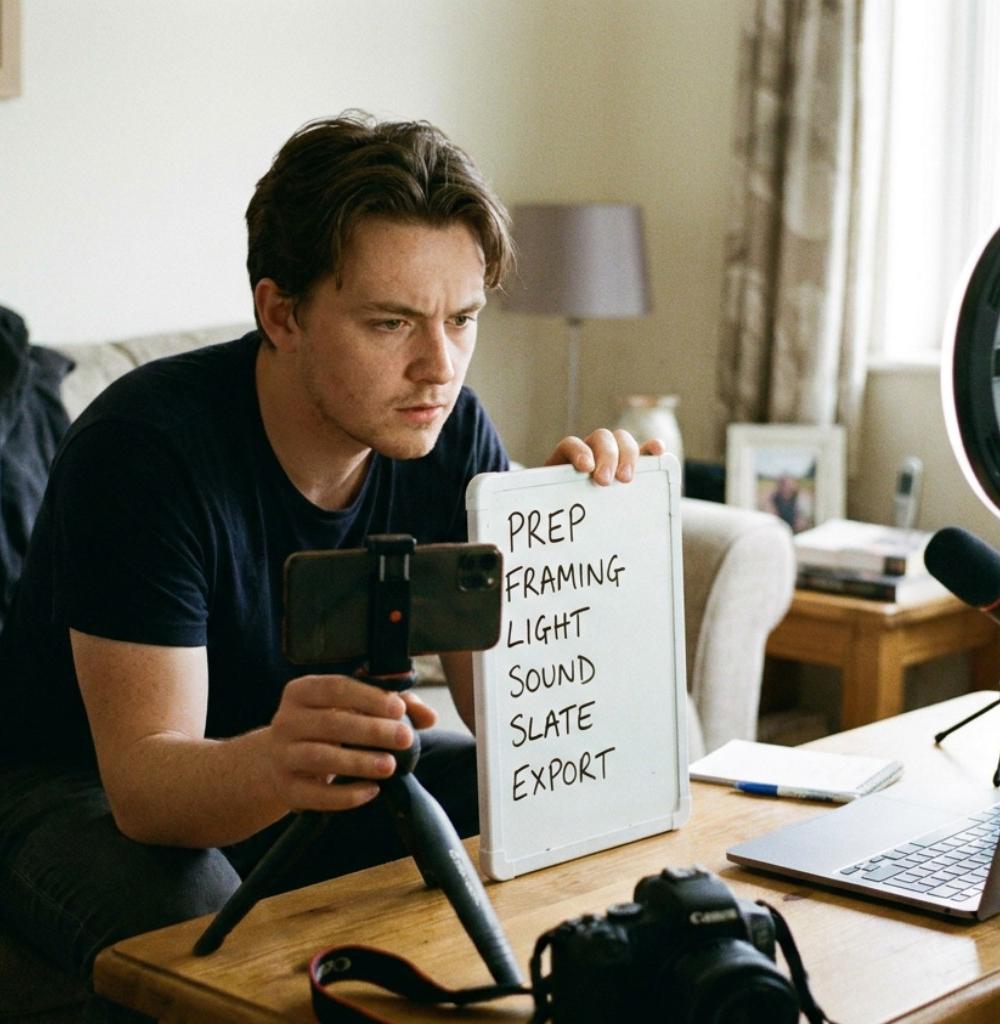
The actor who books the most auditions in a busy month is rarely the most talented person in the pile — she's the one who has stopped thinking about her setup entirely. Her light, her frame, her sound, her file name: all decided months ago, all automatic now. Every ounce of energy she has left goes straight into the performance. That's not a talent gap. That's a checklist gap, and it's fixable in an afternoon.
A self tape checklist is a fixed sequence you run before every audition — prep, camera, light, sound, performance, and export — so nothing gets missed under deadline pressure. Running the same steps in the same order every time turns self-taping from a stressful scramble into a routine you can execute calmly, even with two hours' notice.
Why a Checklist Beats Talent Under Deadline
Most blown self-tapes aren't blown by bad acting. They're blown by a shadow across half the face, a room that sounds like a tin can, or a file exported in the wrong format at eleven at night with a submission due at nine the next morning. A checklist doesn't make you a better actor. It removes every non-acting way you can lose the role, so the only thing left to judge is the thing you actually trained for.
Before You Set Up: Read the Notice and Make Choices
Preparation starts before the camera comes out. Read the casting notice twice and pull out every specific instruction — orientation, take count, slate requirements, file format, deadline. Then work the material: read the sides until you know them cold enough to lift your eyes to the lens, and decide what your character wants in the scene and what's standing in the way. Choose wardrobe that suggests the character without being a literal costume — solid, muted colors read best on camera. Confirm your reader is available and knows the pace you're going for.
Camera and Framing Check
Set the picture before you worry about anything else:
- Rear camera, resolution set to 1080p, lens wiped clean of smudges.
- Phone locked on a tripod at eye level so it can't rotate or drift mid-take.
- Medium close-up framing, mid-chest to just above the head, eyes on the upper third of the frame.
- Correct orientation per the notice, with a little headroom, not a lot.
- All four edges of frame clean — no clutter, cords, or doorways in the shot.
For the exact measurements and eyeline rules, our self tape framing guide walks through it in more depth.
Light and Backdrop Check
Now confirm you can actually be seen clearly. Your face should be the brightest, cleanest thing in the shot, with a visible catchlight in your eyes. Check that the light is soft and even, with no harsh shadow across one side of your face, and that your backdrop is neutral, wrinkle-free, and a few feet behind you so you don't cast a shadow on it. Set white balance to match your light source so your skin tone stays natural instead of orange or blue. If you want a deeper walkthrough of backdrop color and distance, see our self tape backdrop guide.
Sound Check — Where Good Tapes Die
Audio is the step actors skip most often, and it's the step that kills more tapes than any other single mistake. Silence fans, air conditioning, and every notification on every device in the room. Record a ten-second test, then play it back on headphones and listen specifically for hiss, echo, or background hum. Get your microphone as close as the frame allows — even a $15 clip-on lavalier will outperform a phone's built-in mic in most rooms. If the test sounds hollow, add soft furnishings or move to a smaller, softer room and test again before you touch the actual take.
Nobody ever got cut for great acting in a room that sounded like a shoebox — but plenty of great acting has been cut for exactly that.
Performance and Slate
With the technical side locked, protect the acting:
- Slate exactly as requested — usually name and height, delivered warmly as yourself.
- Take a beat of stillness before the first line to give the scene a clear, readable start.
- Keep your eyeline tight to the lens and stay in it through the final beat.
- Run a couple of takes with different choices, but don't over-record into exhaustion — diminishing returns set in fast.
Our full self tape audition guide goes deeper on directing a reader and making bold, specific choices under pressure.
Review, Export, and Submit
The last steps are where careless actors undo genuinely good work. Watch your chosen take all the way through on a decent-sized screen, checking picture and sound together, not separately. Trim only the dead air at the head and tail — never cut inside the performance unless the notice explicitly allows it. Export in the exact format and resolution requested, and name the file precisely as instructed, usually your name and the role. For the full rules on export settings and file naming, see how to format a self tape casting will accept. Submit your strongest single take unless options were requested, and double-check you're sending the right file to the right project before you hit send.
Make the Checklist a Habit, Not a Chore
The real power of a self tape checklist is what it removes: guesswork under pressure. Once these steps become routine, you can prep a bookable take in the time it takes to boil water, no matter how tight the deadline — and every ounce of your focus goes into the performance instead of the logistics. That reliability is exactly what makes casting want to work with you again and again.
What's the most commonly missed step on a self tape checklist?
Sound. Actors obsess over lighting and framing and then record audio in a room with an air conditioner running or a hard floor bouncing echo everywhere. A ten-second test, played back on headphones before you commit to a take, catches almost every audio problem before it costs you a callback.
How long should running a self tape checklist actually take?
Once your setup is established, a full pass — camera, light, sound, and a final export check — takes about ten to fifteen minutes. The first few times will be slower while you're dialing in your specific space; after that, it becomes close to automatic.
Do I need special equipment to follow a self tape checklist?
No. A checklist is a process, not a shopping list. You can run every step here with a smartphone, a window for light, and a quiet room. Gear like a $20 ring light or a clip-on mic can help, but they solve problems the checklist would have caught anyway.
Should I test my audio every time, even in a room I always use?
Yes. Rooms change — a neighbor's construction, a different time of day with more street noise, a fan someone left on. A ten-second test costs you nothing and catches problems a familiar room can still produce on a bad day.
How many takes should I record before submitting?
Two to four solid takes is usually enough to find your best version without acting fatigue setting in. Beyond that, returns diminish fast — later takes often get smaller and more careful instead of more alive, which is the opposite of what casting wants to see.
A checklist won't make you a better actor, but it will make sure your acting is the only thing being judged. If you want the whole process — prompts, timers, and reminders — built into one simple workflow, HowToSelfTape is free to start and designed to make this checklist second nature. Run it enough times and it stops being a checklist at all. It just becomes how you work.