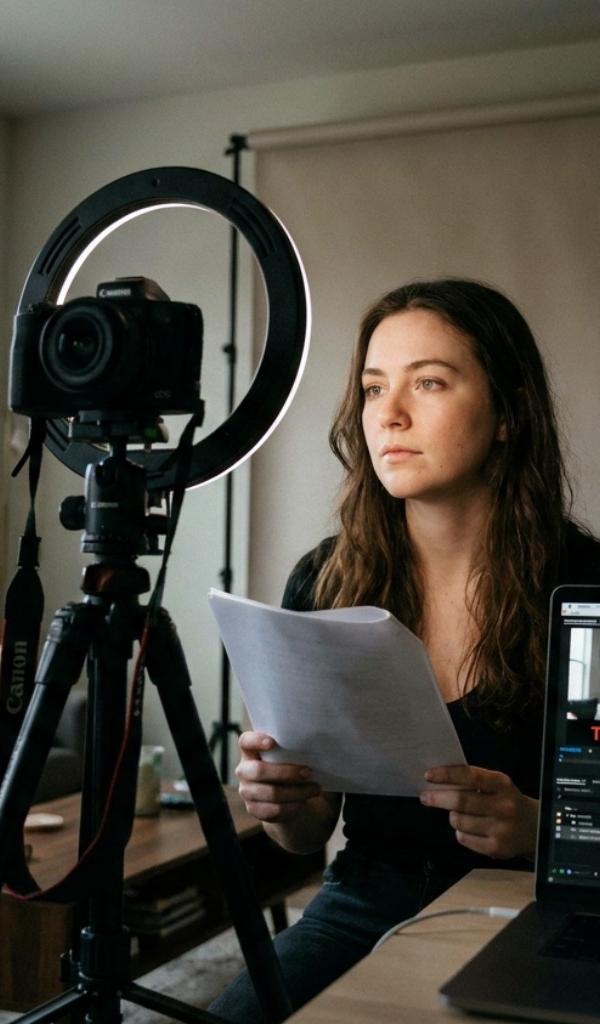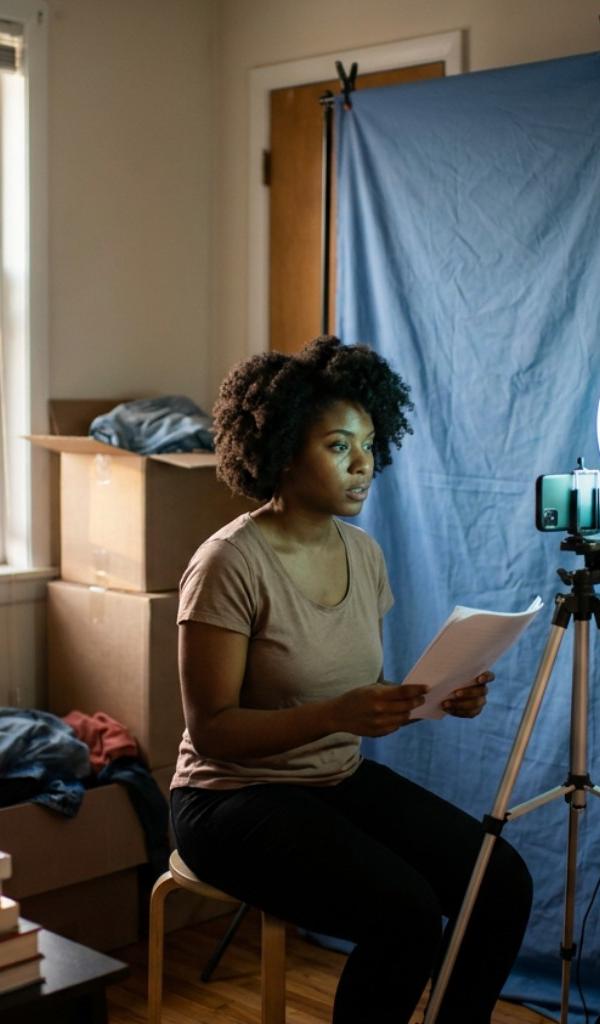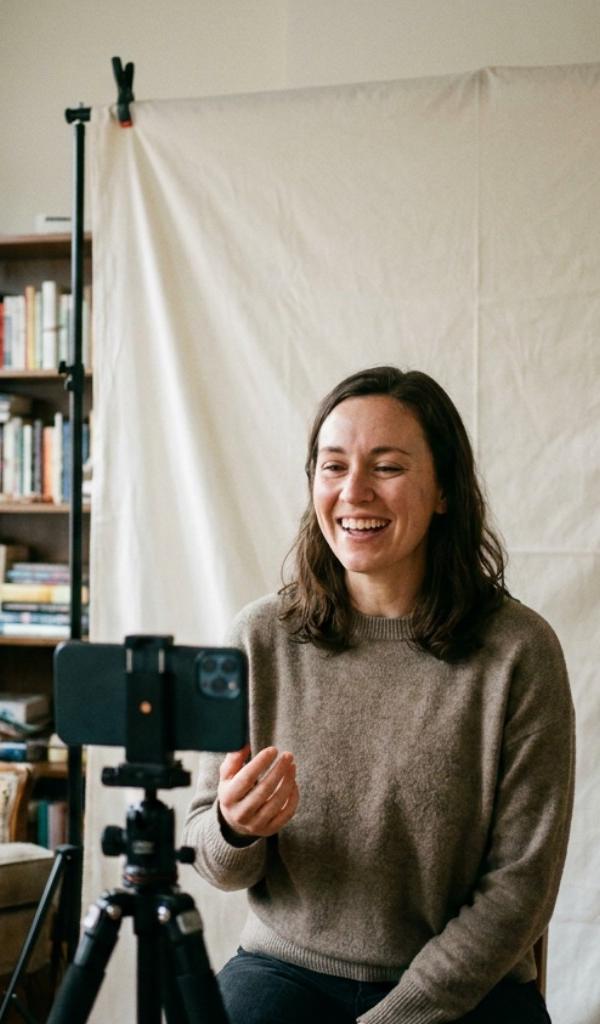
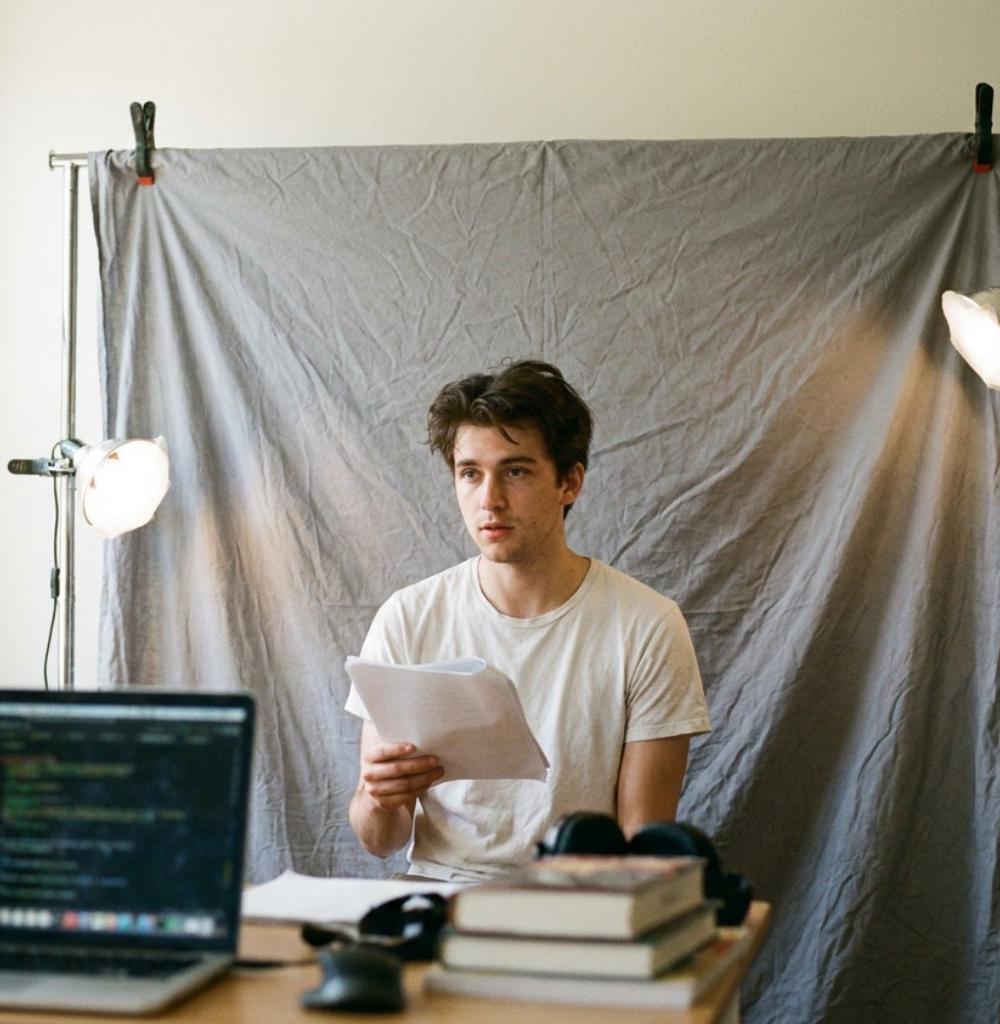
An actor once spent three hundred dollars on a pop-up green-screen kit for self-tapes, then quietly got passed over for weeks because the "cleaned up" background in every take had a visible seam and a flat, computer-generated look casting could spot instantly. Meanwhile, an actor two buildings over was booking callbacks off a ten-dollar bedsheet clamped to a curtain rod. The lesson isn't that gear doesn't matter — it's that the wrong three hundred dollars loses to the right ten every time.
Your self tape backdrop has one job: keep every ounce of attention on your face. A neutral, wrinkle-free, mid-toned background — grey, blue-grey, or muted green — placed a few feet behind you and lit slightly darker than your face reads as professional every time, and it rarely costs more than the price of a bedsheet or a fabric panel. Get the frame and the sound right alongside it — see our self tape audition guide and self tape checklist — and there is nothing left in your setup working against you.
What a Good Backdrop Is Actually Doing For You
The job of your background is simple: keep all attention on your face. It should be neutral, evenly toned, and free of anything that competes for the eye — no bookshelf titles to read, no framed art to wonder about, no doorway leading into another room. A strong backdrop doesn't announce itself. The moment a casting director starts noticing what's behind you, they've stopped watching what you're doing in front of it.
The Colors That Photograph Best
Muted, mid-tone colors separate you from the background without stealing focus.
- Mid grey is the industry favorite — flattering on nearly every skin tone and wardrobe choice.
- Soft blue or blue-grey reads clean and modern and adds a subtle sense of depth.
- Muted green, warm taupe, or any soft neutral works well too.
Avoid pure white, which blows out under most home lighting and flattens your features, and pure black, which reads as a void and can eat your hair and shoulders entirely. Skip anything bold or patterned — a backdrop's job is to disappear, not to make a statement.
Cheap Backdrop Setups That Actually Book
You don't need a studio system. Any of these read as clean and intentional on camera:
- A clean, smooth wall in the right color — the simplest option of all, and often already sitting in your home.
- A collapsible muslin or a wrinkle-resistant fabric panel in mid grey, clamped to a light stand or a tension rod, usually under thirty dollars.
- A seamless paper roll if you tape often enough to want a permanently flawless surface.
- A large flat bedsheet or blackout curtain, pulled completely taut — wrinkles are the single biggest giveaway that turns a cheap backdrop into a cheap-looking one.
Whatever you choose, iron or steam it before every session. A wrinkle-free surface does more to sell a "real setup" than the material itself ever will.
Distance Is the Secret Weapon Nobody Talks About
Here's the trick that matters more than what fabric you buy: step away from your backdrop. Standing three to five feet in front of the wall does two things. First, it lets the background fall very slightly out of focus, gently separating you from it the way a real production would. Second, and more importantly, it keeps your body from casting a hard shadow directly behind you. Actors who stand flush against the wall almost always end up with an ugly, sharp-edged shadow that flattens the whole shot. Create distance and the problem disappears without spending another dollar.
A backdrop that does its job is one casting never consciously notices.
Lighting the Backdrop So It Doesn't Compete With You
A backdrop reads best when it's lit a touch separately from you. Aim to keep it slightly darker than your face so you pop forward, but not so dark it turns muddy or uneven. If you have a second light source — even a $20 clip lamp with a diffuser — angle a little spill onto the background to lift it and kill shadows. Pairing your backdrop with a proper self tape lighting setup is what actually sells the illusion of a produced space; the backdrop and the light are one job, not two.
Common Mistakes That Make a Cheap Backdrop Look Cheap
The material rarely gives you away — technique does. The three habits that undo an otherwise good setup: standing too close to the wall and casting a hard shadow, skipping the iron and taping in front of visible wrinkles, and choosing a color that's too close to your skin tone or wardrobe, which flattens you into the background instead of separating you from it. Fix those three things and a ten-dollar bedsheet outperforms an expensive kit used carelessly.
Build It Once, Reuse It Forever
Once you find a self tape backdrop that works, lock it in. Mark where the stand goes with a piece of tape on the floor, note your distance from the wall, and store the fabric rolled or hung so it stays wrinkle-free between sessions. Pair it with a consistent home self-tape setup and you remove an entire category of last-minute scrambling. A repeatable, neutral background is one less thing to solve under deadline pressure — and one more reason casting keeps watching your face all the way to the final line.
What color backdrop is best for self tapes?
Mid grey is the safest, most universally flattering choice, working well across skin tones and most wardrobe colors. Soft blue-grey and muted green are strong alternatives. Avoid pure white, pure black, and anything bright or patterned, since all of them either wash you out or pull focus away from your performance.
Can I use a white wall as my self tape backdrop?
A bright white wall often blows out under home lighting and can flatten your features, so it's not ideal as-is. An off-white or lightly toned wall usually works fine, especially if you dim it slightly relative to your face. When in doubt, a muted grey or blue fabric panel gives more consistent, flattering results.
How far should I stand from my backdrop?
Three to five feet is the sweet spot for most home setups. That distance softens the background slightly and, more importantly, keeps your body from casting a hard, distracting shadow directly behind you — a problem that shows up constantly when actors stand flush against the wall.
Do I need a green screen for self tapes?
No, and casting generally prefers that you don't use one. A green-screen replacement background often looks synthetic, with visible edges or a flat, computer-generated feel that reads as less professional than a simple neutral wall or fabric panel shot correctly.
Can I use a blurred virtual background instead of a physical backdrop?
It's best avoided for auditions. Software-blurred backgrounds can glitch around your hair and shoulders, especially in movement, and casting wants to see an honest, unedited record of your performance. A real, neutral backdrop a few feet behind you will always look more natural and reliable.
A great backdrop is a small investment that pays off on every single tape you send for the rest of your career. If you want step-by-step guidance on building a complete, repeatable self-tape setup — backdrop, light, and framing all in one place — HowToSelfTape is free to start and made for exactly this. Clear the clutter, close the distance, and let your face do the work.