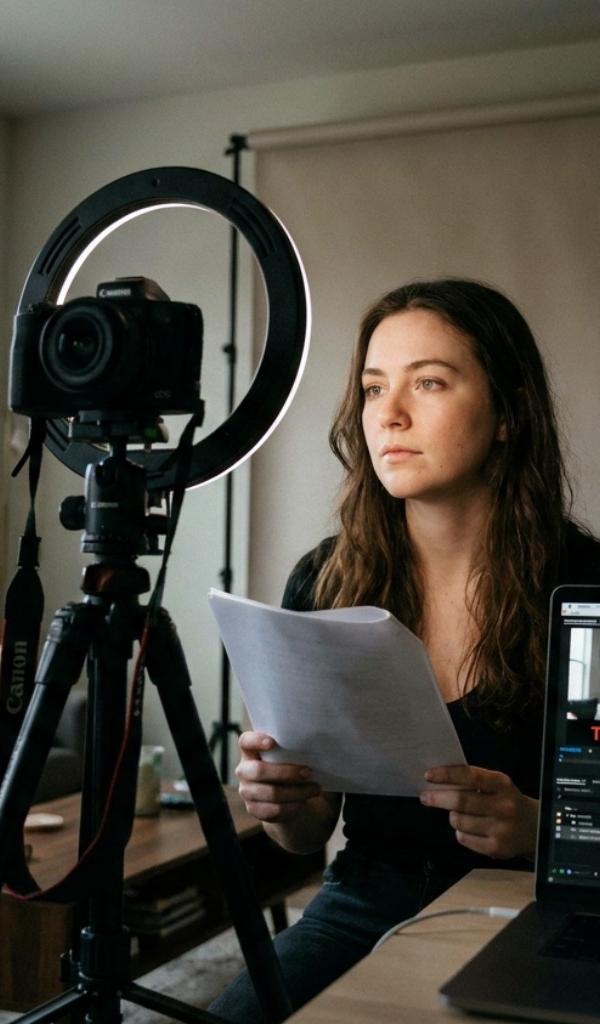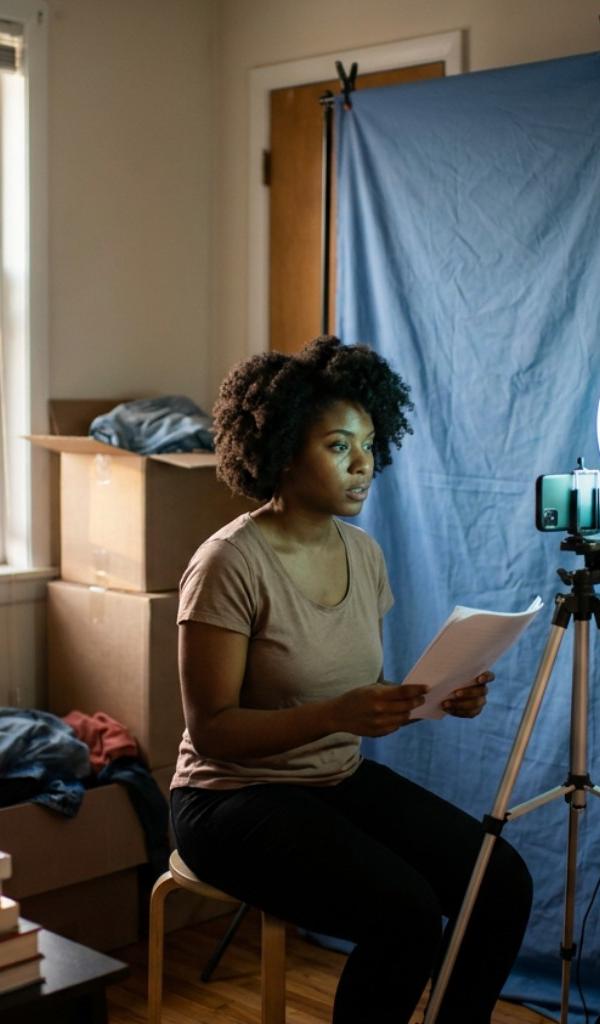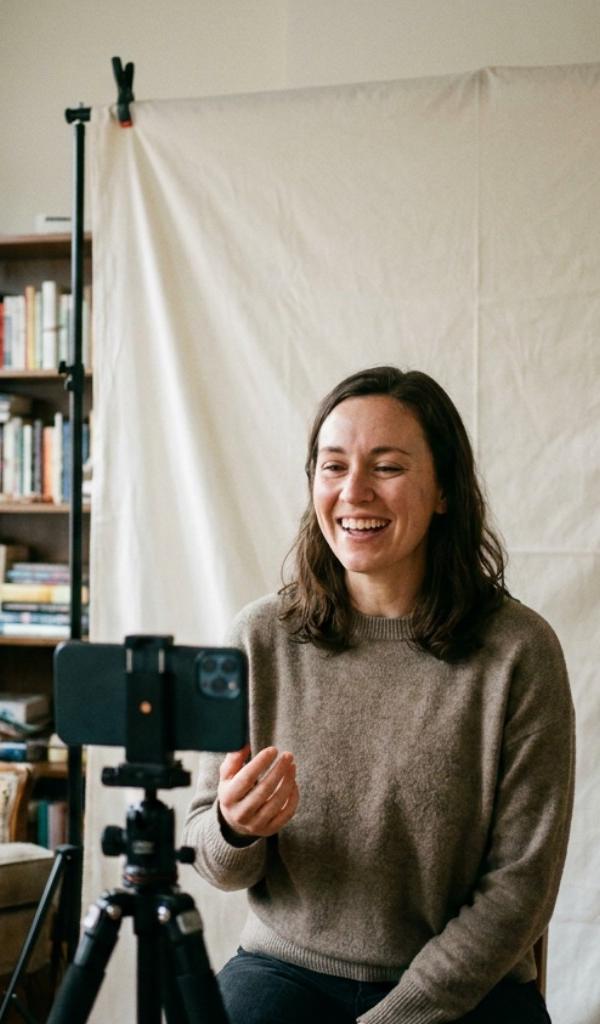
Nobody has ever lost a role because their apartment lacked a home studio. They lose roles because the audio crackled, the frame cut off their forehead, or a laundry basket was visible over their shoulder. A real self tape setup at home doesn't need a spare room or a shopping cart full of gear — it needs a phone you already own, a window, and about twenty minutes spent turning one corner of your home into a spot you can rebuild in minutes, every time an audition drops.
A self tape setup at home combines four things: your phone's rear camera on a tripod at eye level, window light or bounced lamp light on your face, a quiet room with a cheap external mic, and a plain, uncluttered background a few feet behind you. None of it requires spending more than about fifty dollars total, and most actors already own half of it.
The Camera You Already Own Is Enough
Your smartphone is more than good enough for this. Every current iPhone and most mid-range Android phones shoot footage that's sharper and cleaner than what casting was reviewing on video ten years ago.
- Shoot with the rear camera, never the selfie camera — the rear lens is meaningfully higher resolution and better in low light.
- Set resolution to 1080p, which plays smoothly on every casting platform, and wipe the lens with a cloth before every session.
- Mount the phone on a cheap clamp tripod, roughly fifteen to twenty-five dollars, so the shot is perfectly still, and set it at eye level.
- Frame a medium close-up, mid-chest to just above the head, eyes on the upper third of the frame — see our self tape framing guide for the exact measurements.
Lighting Without Buying a Kit
The best free light source most actors have access to is a window. Face it, or sit at a forty-five degree angle, so soft daylight lands evenly across your face, and hang a sheer curtain if the light through it feels harsh. Our natural light self tape guide goes deep on finding the right window and the right hour of day.
If you're shooting at night or your apartment doesn't have good natural light, point two matching lamps at a white wall or ceiling and let the bounced light wrap around you rather than aiming bare bulbs straight at your face. A plain white poster board on your shadow side fills in the dark areas for free. You're aiming for even light and a small catchlight in your eyes, not a lighting rig — our three-point lighting setup guide covers the same principles with actual lights if you decide to invest.
Sound That Doesn't Sink an Otherwise Good Tape
Bad audio kills more tapes than bad lighting, and it's the cheapest fix on this whole list. Record in your quietest room — carpet, curtains, or a closet full of clothes absorb echo far better than a bare-walled living room. Turn off fans, air conditioning, and every phone notification in the house before you roll.
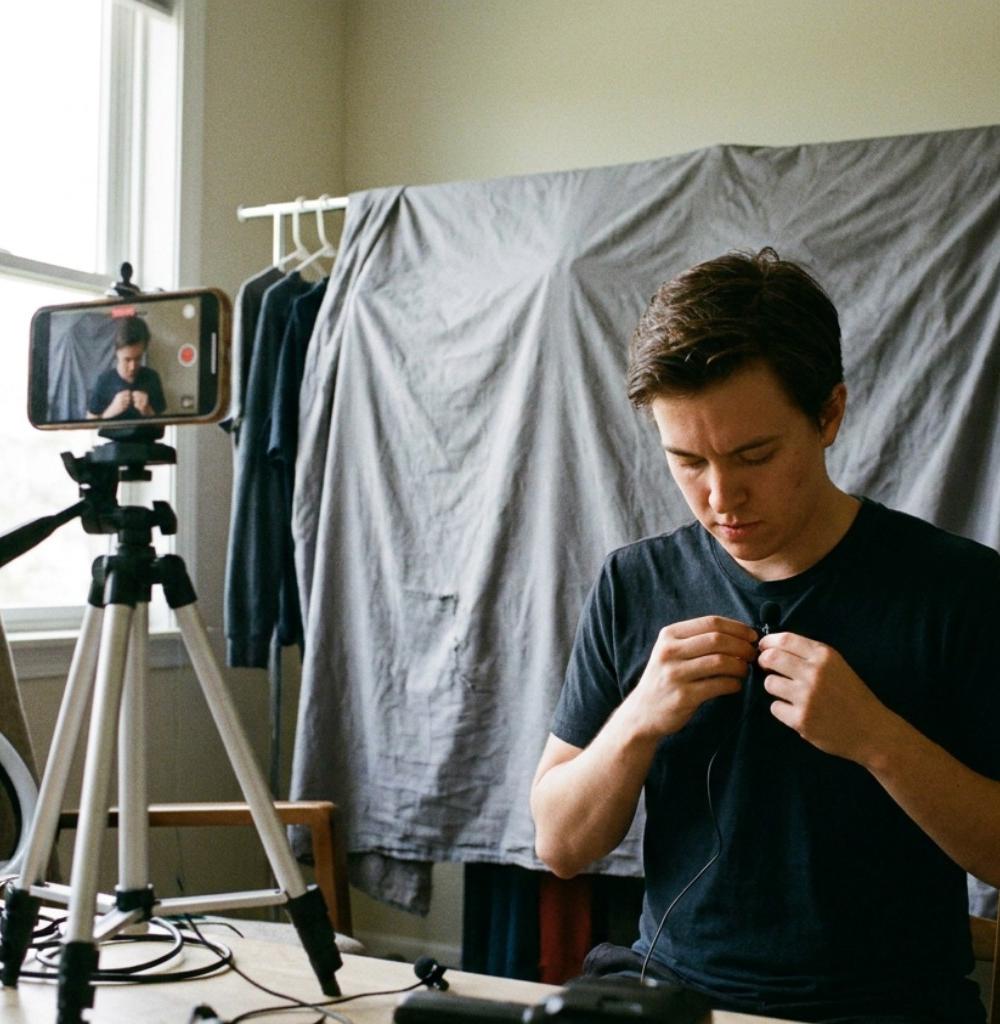
If you can, plug in a pair of wired earbuds with a built-in mic, or a fifteen-dollar clip-on lavalier, and tuck the mic just out of frame near your collar. Even that small upgrade beats a phone's built-in microphone picking up sound from six feet away. Record a ten-second test clip and actually listen back on headphones before you shoot the real take — most audio problems are audible in the first ten seconds if you bother to check.
A Clean Backdrop From What You Already Own
Your background should be neutral and boring on purpose, so nothing pulls focus from your face. A smooth, empty wall in a muted color works well — mid-grey, soft blue, or any neutral tone. If your walls are busy or covered in art, hang a wrinkle-free bedsheet or a blackout curtain pulled completely taut behind you.
The one move people skip: stand a few feet away from the backdrop itself, not pressed against it. That gap keeps you from casting a hard shadow onto the wall and lets the background fall gently out of focus, which reads as more polished on camera. Our full self-tape backdrop guide covers colors and materials that hold up on camera.
Common Setup Mistakes Worth Avoiding
The same handful of errors trip up nearly every home setup at some point: recording in a room with hardwood floors and bare walls that echoes badly, propping the phone against a stack of books that slowly tips mid-take, forgetting to silence notifications so a text buzzes through during the best line of the scene, and standing so close to the backdrop that a shadow prints right behind your head. Each one takes thirty seconds to prevent and completely derails a tape if it's missed.
Casting isn't scoring your apartment — they're scoring whether they can see and hear you clearly enough to believe you.
Putting the Whole Corner Together
Combine every piece into one reliable spot: backdrop behind you with a few feet of clearance, window or bounced light in front of you lighting your face evenly, phone on a tripod at eye level framing a medium close-up, and your reader tucked just beside the lens with the mic tested and ready. Mark your floor position with a small piece of tape and jot down your settings somewhere you'll find them again, so you can rebuild the whole thing in minutes the next time a self-tape request lands with a same-day deadline.
How much should a basic self tape setup at home cost?
Most actors can build a fully functional setup for thirty to sixty dollars total: a clamp tripod, a cheap lavalier or wired earbuds with a mic, and a plain bedsheet for a backdrop. Everything else is gear you already own or light that's already free.
What room in my home is usually best for taping?
A room with soft furnishings — carpet, curtains, upholstered furniture — near a window that doesn't face direct sun. Bedrooms often work better than living rooms because they tend to have more fabric to absorb echo.
Do I need a real microphone, or is my phone's mic okay?
The built-in mic is usable in a genuinely quiet room but picks up distance and room echo easily. A fifteen-dollar clip-on lavalier or wired earbuds with a mic makes a noticeable difference for very little money.
How do I keep my setup consistent between auditions?
Write down your tripod height, distance from the backdrop, and preferred lighting time of day the first time you get it right. Treat it like a recipe you can follow again rather than something you rebuild from memory each time.
The point of a dialed-in self tape setup at home is that the equipment disappears from your attention entirely — framing, light, sound, and backdrop handled the same way every time, so all your energy goes into the acting. Once the corner is built, a free tool like HowToSelfTape can help you rehearse and record against it — it's free to start and built for exactly this kind of at-home setup.